key Ram 1500 2014 Get to Know Guide
[x] Cancel search | Manufacturer: RAM, Model Year: 2014, Model line: 1500, Model: Ram 1500 2014Pages: 252, PDF Size: 6.74 MB
Page 109 of 252

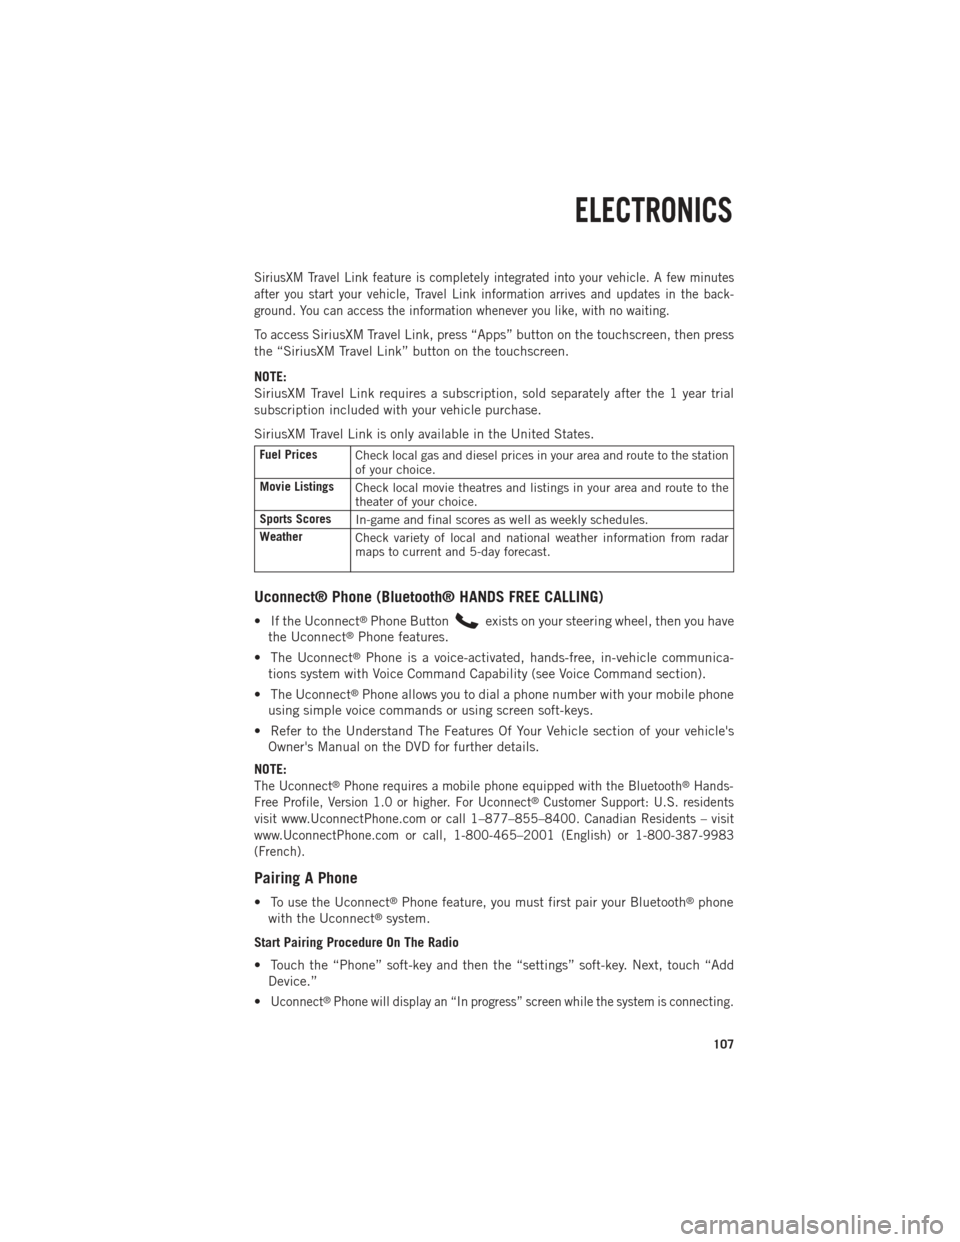
SiriusXM Travel Link feature is completely integrated into your vehicle. A few minutes
after you start your vehicle, Travel Link information arrives and updates in the back-
ground. You can access the information whenever you like, with no waiting.
To access SiriusXM Travel Link, press “Apps” button on the touchscreen, then press
the “SiriusXM Travel Link” button on the touchscreen.
NOTE:
SiriusXM Travel Link requires a subscription, sold separately after the 1 year trial
subscription included with your vehicle purchase.
SiriusXM Travel Link is only available in the United States.
Fuel PricesCheck local gas and diesel prices in your area and route to the station
of your choice.
Movie Listings Check local movie theatres and listings in your area and route to the
theater of your choice.
Sports Scores In-game and final scores as well as weekly schedules.
Weather Check variety of local and national weather information from radar
maps to current and 5-day forecast.
Uconnect® Phone (Bluetooth® HANDS FREE CALLING)
• If the Uconnect®Phone Buttonexists on your steering wheel, then you have
the Uconnect®Phone features.
• The Uconnect
®Phone is a voice-activated, hands-free, in-vehicle communica-
tions system with Voice Command Capability (see Voice Command section).
• The Uconnect
®Phone allows you to dial a phone number with your mobile phone
using simple voice commands or using screen soft-keys.
• Refer to the Understand The Features Of Your Vehicle section of your vehicle's Owner's Manual on the DVD for further details.
NOTE:
The Uconnect®Phone requires a mobile phone equipped with the Bluetooth®Hands-
Free Profile, Version 1.0 or higher. For Uconnect®Customer Support: U.S. residents
visit www.UconnectPhone.com or call 1–877–855–8400. Canadian Residents – visit
www.UconnectPhone.com or call, 1-800-465–2001 (English) or 1-800-387-9983
(French).
Pairing A Phone
• To use the Uconnect®Phone feature, you must first pair your Bluetooth®phone
with the Uconnect®system.
Start Pairing Procedure On The Radio
• Touch the “Phone” soft-key and then the “settings” soft-key. Next, touch “Add Device.”
•
Uconnect®Phone will display an “In progress” screen while the system is connecting.
ELECTRONICS
107
Page 110 of 252

Start Pairing Procedure On Mobile Phone
• Search for available devices on your Bluetooth
®enabled mobile phone. This is
usually within Settings or Options under “Bluetooth.” See your mobile phone’s
manual for details.
• When your phone finds the system, select “Uconnect” as the paired device. You may be prompted by your phone to download the phonebook. This is so you can
make calls by saying the name of your contact (PBAP-Phone Book Access Profile).
Complete The Pairing Procedure
• When prompted on the phone, verify with the radio password shown on the Uconnect
®Screen.
• If your phone asks you to accept a connection request from Uconnect
®, select
“Yes.” If available, check the box telling it not to ask again – that way your phone
will automatically connect each time you start the vehicle.
Select The Mobile Phone's Priority Level
• When the pairing process has successfully completed, the system will prompt you to choose whether or not this is your favorite phone. Selecting “Yes” will make this
phone the highest priority. This phone will take precedence over other paired
phones within range. Only one phone can be paired at a time.
• You are now ready to make hands-free calls. Press the Uconnect
®Phone button on
your steering wheel to begin.
Making A Phone Call
• Press the Uconnect®Phone button.
• After the BEEP, say “dial” then the number (or “call” then the name as listed in your phone; see Phonebook).
NOTE:
You can also initiate a call by using the touchscreen on the Phone main screen.
Receiving A Call — Accept (And End)
• When an incoming call rings/is announced on Uconnect®, press the Phone button
.
• To end a call, press the Phone button
.
Mute (Or Unmute) Microphone During Call
• During a call, touch the “mute” soft-key on the Phone main screen to mute and unmute the call.
Transfer Ongoing Call Between Handset And Vehicle
• During an on-going call, touch the “Transfer” soft-key on the Phone main screento transfer an on-going call between handset and vehicle.
ELECTRONICS
108
Page 111 of 252

Common Phone Commands (Examples)
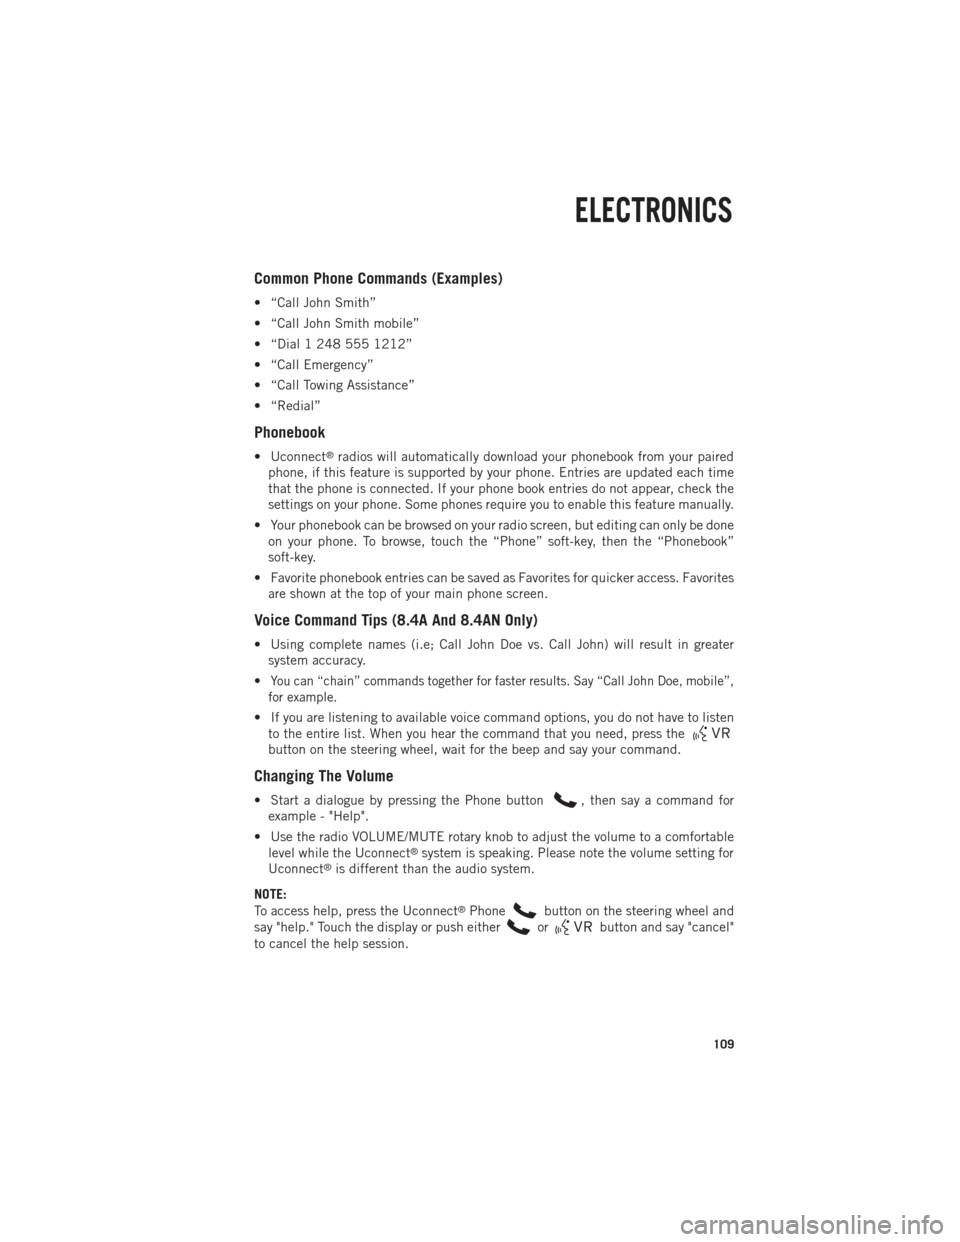
• “Call John Smith”
• “Call John Smith mobile”
• “Dial 1 248 555 1212”
• “Call Emergency”
• “Call Towing Assistance”
• “Redial”
Phonebook
• Uconnect®radios will automatically download your phonebook from your paired
phone, if this feature is supported by your phone. Entries are updated each time
that the phone is connected. If your phone book entries do not appear, check the
settings on your phone. Some phones require you to enable this feature manually.
• Your phonebook can be browsed on your radio screen, but editing can only be done on your phone. To browse, touch the “Phone” soft-key, then the “Phonebook”
soft-key.
• Favorite phonebook entries can be saved as Favorites for quicker access. Favorites are shown at the top of your main phone screen.
Voice Command Tips (8.4A And 8.4AN Only)
• Using complete names (i.e; Call John Doe vs. Call John) will result in greatersystem accuracy.
•
You can “chain” commands together for faster results. Say “Call John Doe, mobile”,
for example.
• If you are listening to available voice command options, you do not have to listen to the entire list. When you hear the command that you need, press the
button on the steering wheel, wait for the beep and say your command.
Changing The Volume
• Start a dialogue by pressing the Phone button, then say a command for
example - "Help".
• Use the radio VOLUME/MUTE rotary knob to adjust the volume to a comfortable level while the Uconnect
®system is speaking. Please note the volume setting for
Uconnect®is different than the audio system.
NOTE:
To access help, press the Uconnect
®Phonebutton on the steering wheel and
say "help." Touch the display or push either
orbutton and say "cancel"
to cancel the help session.
ELECTRONICS
109
Page 114 of 252

Available Radio Soft-Key Voice Commands
Ty p e s o fVoiceCom-
mands
Available Steering
Wheel
Buttons to Press: (1)
Radio Mode (2)
Media Mode (3)
Climate
Controls (4)
Naviga- tion (5)
Phone Mode (6)
APPS
Uconnect®
Voice
Command (VR)
ButtonAM/FM
& Satel-
lite Band Control Media
Devices Control Tempera-
ture
Control Destina-
tion
Selection and View - Yelp
®
GENERAL
Uconnect®
Phone
Pick Up Button----
Call
Initiation, Call Man- agement, Pre-
defined
Voice Text Reply
-
ELECTRONICS
112
Page 119 of 252

PROGRAMMABLE FEATURES
Programmable Features
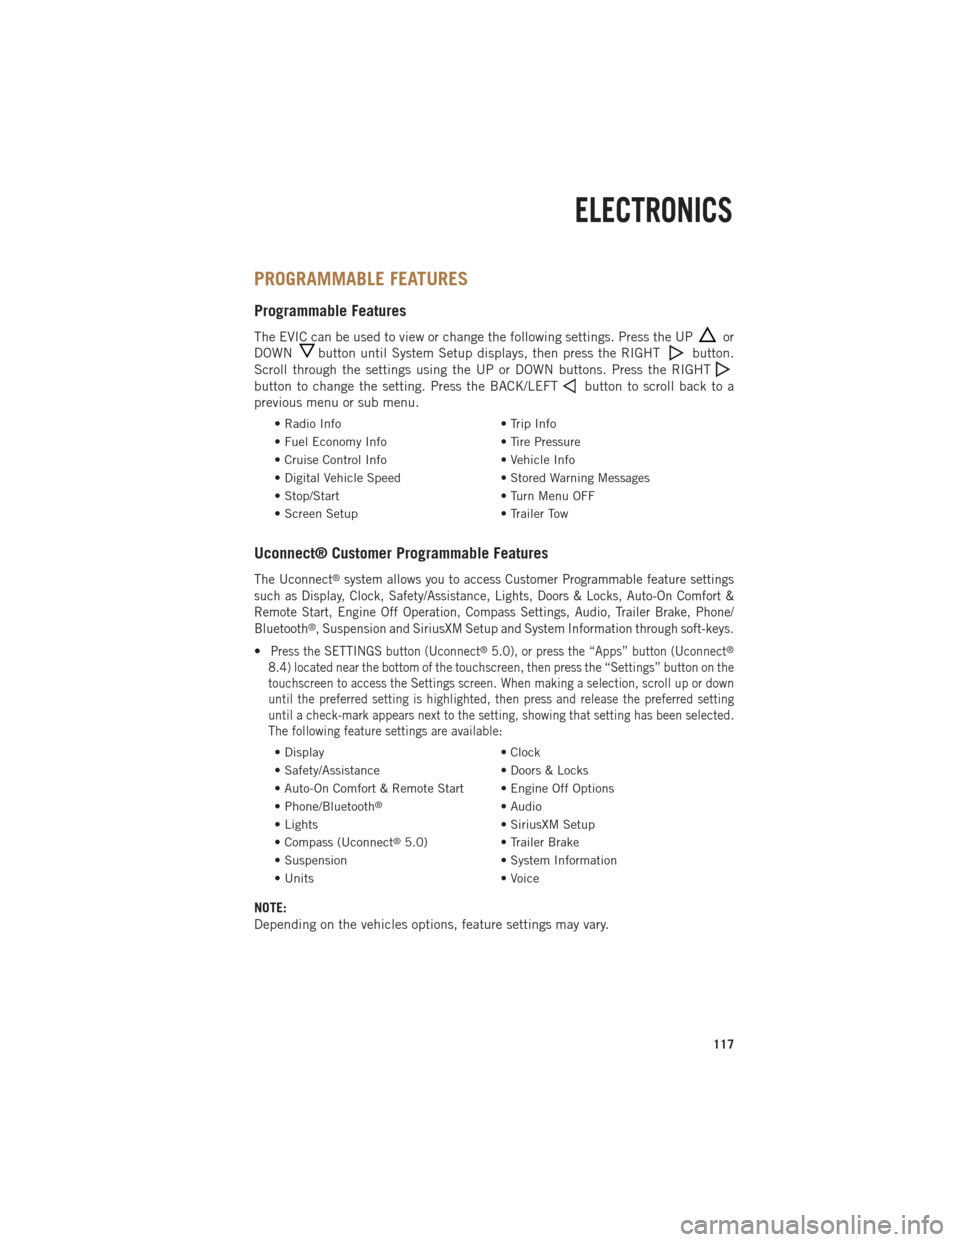
The EVIC can be used to view or change the following settings. Press the UPor
DOWN
button until System Setup displays, then press the RIGHTbutton.
Scroll through the settings using the UP or DOWN buttons. Press the RIGHT
button to change the setting. Press the BACK/LEFTbutton to scroll back to a
previous menu or sub menu.
• Radio Info • Trip Info
• Fuel Economy Info • Tire Pressure
• Cruise Control Info • Vehicle Info
• Digital Vehicle Speed • Stored Warning Messages
• Stop/Start • Turn Menu OFF
• Screen Setup • Trailer Tow
Uconnect® Customer Programmable Features
The Uconnect®system allows you to access Customer Programmable feature settings
such as Display, Clock, Safety/Assistance, Lights, Doors & Locks, Auto-On Comfort &
Remote Start, Engine Off Operation, Compass Settings, Audio, Trailer Brake, Phone/
Bluetooth
®, Suspension and SiriusXM Setup and System Information through soft-keys.
•Press the SETTINGS button (Uconnect®5.0), or press the “Apps” button (Uconnect®
8.4) located near the bottom of the touchscreen, then press the “Settings” button on the
touchscreen to access the Settings screen. When making a selection, scroll up or down
until the preferred setting is highlighted, then press and release the preferred setting
until a check-mark appears next to the setting, showing that setting has been selected.
The following feature settings are available:
• Display • Clock
• Safety/Assistance • Doors & Locks
• Auto-On Comfort & Remote Start • Engine Off Options
• Phone/Bluetooth
®• Audio
• Lights • SiriusXM Setup
• Compass (Uconnect
®5.0) • Trailer Brake
• Suspension • System Information
• Units • Voice
NOTE:
Depending on the vehicles options, feature settings may vary.
ELECTRONICS
117
Page 126 of 252

POWER OUTLETS
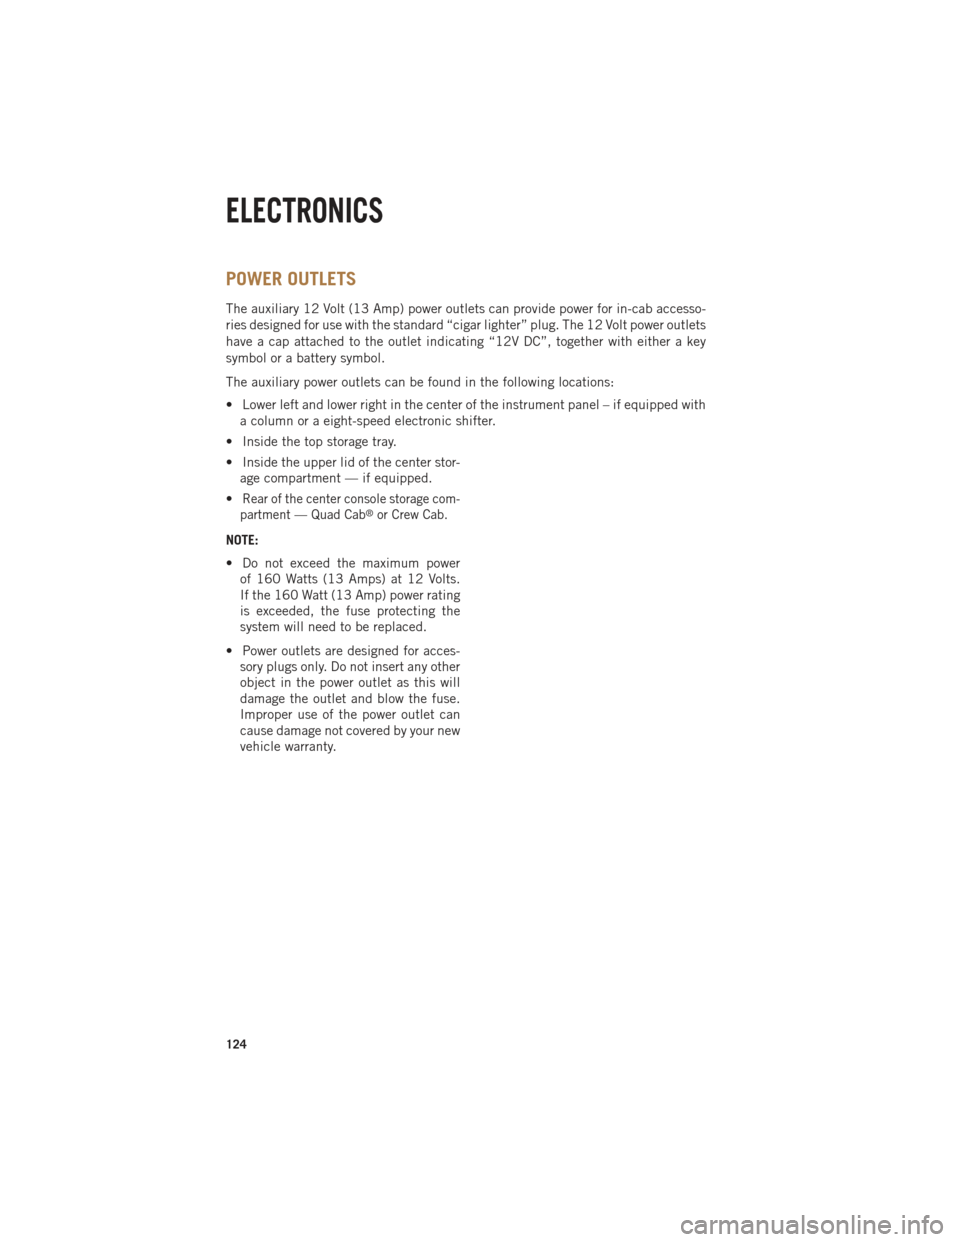
The auxiliary 12 Volt (13 Amp) power outlets can provide power for in-cab accesso-
ries designed for use with the standard “cigar lighter” plug. The 12 Volt power outlets
have a cap attached to the outlet indicating “12V DC”, together with either a key
symbol or a battery symbol.
The auxiliary power outlets can be found in the following locations:
• Lower left and lower right in the center of the instrument panel – if equipped witha column or a eight-speed electronic shifter.
• Inside the top storage tray.
• Inside the upper lid of the center stor- age compartment — if equipped.
•
Rear of the center console storage com-
partment — Quad Cab®or Crew Cab.
NOTE:
• Do not exceed the maximum power of 160 Watts (13 Amps) at 12 Volts.
If the 160 Watt (13 Amp) power rating
is exceeded, the fuse protecting the
system will need to be replaced.
• Power outlets are designed for acces- sory plugs only. Do not insert any other
object in the power outlet as this will
damage the outlet and blow the fuse.
Improper use of the power outlet can
cause damage not covered by your new
vehicle warranty.
ELECTRONICS
124
Page 131 of 252

TONNEAU COVER
• The Tonneau Cover can be removed and reinstalled by using the locking clampslocated underneath the Tonneau Cover.
NOTE:
Be sure that the Tonneau Cover is secured before driving.
EASY-OFF TAILGATE
•To simplify mounting of a camper unit with an overhang, the tailgate can be removed.
NOTE:
If your vehicle is equipped with a rear camera or RKE the electrical connector must
be disconnected prior to removing the tailgate.
Removing The Tailgate
• Disconnect the wiring harness for the rear camera or RKE (if equipped).
• Unlatch the tailgate and remove the support cables by releasing the lock tang from the pivot.
• Raise the right side of the tailgate until the right side pivot clears the hanger bracket.
• Slide the entire tailgate to the right to free the left side pivot.
• Remove the tailgate from the vehicle.
NOTE:
Do not carry the tailgate loose in the truck pickup box.
Locking Tailgate
• The lock is located next to the tailgate handle. The tailgate can be locked using the vehicle key.
WARNING!
To avoid inhaling carbon monoxide, which is deadly, the exhaust system on
vehicles equipped with “Cap or Slide-In Campers” should extend beyond the
overhanging camper compartment and be free of leaks.
UTILITY
129
Page 132 of 252

PICKUP BOX
• You can carry wide building materials (sheets of plywood, etc.) by building a raisedload floor. Place lumber across the box in the indentations provided above the
wheel housings and in the bulkhead dividers to form the floor.
• There are stampings in the sheet metal on the inner side bulkheads of the box in front of and behind both wheel housings. Place wooden boards across the box from
side to side to create separate load compartments in the pickup box.
• There are four tie-down cleats bolted to the lower sides of the pickup box that can sustain loads up to 1000 lbs (450 kg) total.
Cargo Camera
•Your vehicle may be equipped with the Cargo Camera that allows you to see a image
of the inside of the pickup box. The image will be displayed in the Uconnect®screen.
• A display timer is initiated when the cargo camera image is displayed. The image will continue to be displayed until the display timer exceeds 10 seconds and the
vehicle speed is above 8 mph (13 km/h) or the image is deactivated by touching
the Uconnect
®display.
NOTE:
If the vehicle speed remains below 8 mph (13 km/h), the cargo camera image will be
displayed continuously until deactivated by touching the Uconnect
®display.
• The Cargo Camera is located in the bottom center area of the center high-mounted stoplamp (CHMSL).
NOTE:
If snow, ice, mud, or any foreign substance builds up on the camera lens, clean the
lens, rinse with water, and dry with a soft cloth. Do not cover the lens.
Turning Cargo Camera On Or Off — With Uconnect® 8.4A/8.4AN
1. Touch the “Controls” soft-key located on the bottom of the Uconnect®display.
2. Touch the “Cargo Camera” soft-key to turn the Cargo Camera system ON.
UTILITY
130
Page 135 of 252

•Storage bins feature two removable drain plugs (to allow water to drain from bins).
To remove plug, pull up on the edge. To install, push plug downward into drain hole.
• The RamBox®storage bins can be locked and unlocked using the vehicle key or
the remote keyless entry transmitter.
NOTE:
Provisions are provided in the bins for cargo dividers and shelf supports. These
accessories (in addition to other RamBox
®accessories) are available from MOPAR®.
RamBox® Storage Bin Cover Emergency Release Lever
• As a security measure, a Storage Bin Cover Emergency Release is built into the storage bin cover latching mechanism.
NOTE:
In the event of an individual being locked inside the storage bin, the storage bin cover
can be opened from inside of the bin by pulling on the glow-in-the-dark lever
attached to the storage bin cover latching mechanism.
Bed Extender
• The bed extender has three functional positions: • Storage Position
• Divider Position
• Extender Position
Storage Position
• The storage position for the bed extender is at the front of the truck bed.
• To install the bed extender into the storage position, perform the following:• Make sure the center handle is unlocked using the vehicle key and rotate thecenter handle vertically to release the extender side gates.
• With the side gates open, position the extender fully forward in the bed against the front panel.
• Rotate the side gates closed allowing the outboard ends to be positioned in front of the cargo tie-down loops.
• Rotate the center handle horizontally to secure the side gates in the closed position.
• Lock the center handle using the vehicle key to secure the panel into place and assist against theft.
UTILITY
133
Page 136 of 252

Divider Position
• There are 11 divider slots along the bed inner panels which allow for variouspositions to assist in managing your cargo.
• To install the bed extender into a divider position perform the following: • Make sure the center handle is unlocked using the vehicle key and rotate thecenter handle vertically to release the extender side gates.
• With the side gates open, position the extender so the outboard ends align with the intended slots in the sides of the bed.
• Rotate the side gates closed so that the outboard ends are secured into the intended slots of the bed.
• Rotate the center handle horizontally to secure the side gates in the closed position.
• Lock the center handle to secure the panel into place and assist against theft.
Extender Position
• The bed extender will add an additional 15 in (38 cm) in the back of the truck when additional cargo room is needed.
• To install the bed extender into the extender position, perform the following: • Lower the tailgate.
• Make sure the center handle is unlocked and rotate the center handle verticallyin order to release the extender side gates.
• Fit the end of the side gate ends onto the pin and handle.
• Rotate the handles to the horizontal position to secure into place.
Bed Rail Tie-Down System
• There are two adjustable cleats on each side of the bed that can be used to assist in securing cargo.
• Each cleat must be located and tightened down in one of the detents, along either rail, in order to keep cargo properly secure.
• To move the cleat to any position on the rail, turn the nut counterclockwise, approximately three turns. Then, pull out on the cleat and slide it to the detent
nearest the desired location. Make sure the cleat is seated in the detent and
tighten the nut.
• To remove the cleats from the utility rail, remove the end cap by pushing up on the locking tab, located on the bottom of the end cap. Slide the cleat off the end
of the rail.
UTILITY
134